OpenClaw Install Guide: Requirements, Setup Steps, and What to Prepare
If you are deciding how to set up OpenClaw, start with the host, keys, channels, and approval gates before you run a command. This guide serves DIYers first, then shows when ClearSetup is the faster path.
Most people search for an install command. What they actually need is a plan. A good OpenClaw install is one command plus a set of decisions: where it runs, which API key it uses, which channel it talks through, and what it is allowed to do without asking you first. This guide walks through all of it, in order, so nothing stalls halfway.
An OpenClaw install involves choosing an always-on host, meeting the Node.js and OS requirements, adding a model provider API key, running the official installer, completing onboarding, connecting a messaging channel, and verifying the Gateway. Then you harden it: access tokens, tight proxy settings, deliberate origins, skill vetting, and human approval gates before any consequential action.
The official quickstart is honest: with Node ready and an API key in hand, the install, onboarding, and first chat flow can get you running in about 5 minutes. That number is real, but it describes a demo, not an operating setup. A business-grade OpenClaw setup adds host selection, credential hygiene, channel testing, skill review, and security hardening. This guide serves the DIY path first, step by step. At the end, you will also see exactly what ClearSetup handles if you would rather skip to a finished, hardened install. If you have been researching how to set up OpenClaw the right way, this is the checklist to bookmark.
- Prepare before you run anything: host, Node runtime, model API key, billing limits, and your first channel choice.
- The official OpenClaw install is one command on macOS, Linux, or WSL2, and one PowerShell command on Windows.
- Onboarding is not optional. The CLI alone does not mean your Gateway, workspace, channel, and daemon are ready.
- Verify before you trust: Gateway status on port 18789, dashboard, first message, restart test, and logs.
- Harden from day one: bearer token auth, no public Gateway exposure, vetted skills, and human approval gates on sensitive actions.
OpenClaw install at a glance#
Here is the whole job in one sentence. You pick a machine that stays online, confirm the runtime, prepare credentials, run the installer, complete onboarding, connect a chat channel, verify the Gateway, and then lock the setup down before giving it real work. Every step is simple. The failure mode is skipping the preparation and discovering the missing piece mid-install.
Security belongs inside the install, not after it. OpenClaw is a capable agent that can read, draft, and prepare work freely. The line you draw during setup is the approval gate: anything that sends, deletes, spends, or changes a record should require a human yes. If you set that expectation on day one, every workflow you add later inherits it.
- ·Run the command first, then hunt for an API key mid-onboarding.
- ·Install on a laptop that sleeps, then wonder why channels drop.
- ·Grab the first channel option without checking plugin requirements.
- ·Add ten skills before the first message even works.
- ·Leave the Gateway wide open and plan to fix it someday.
- ▸Host, runtime, key, and channel decided before any command runs.
- ▸An always-on machine with wired Ethernet where possible.
- ▸A channel picked for your actual workflow, tested with a probe.
- ▸Skills vetted one at a time after verification passes.
- ▸Token auth, tight proxies, and approval gates from the first hour.
The rest of this guide expands each stage. Follow it top to bottom and you will finish with a system you can actually leave running.
OpenClaw requirements checklist before you start#
Start with the OpenClaw requirements, because almost every failed setup traces back to a missing prerequisite rather than a broken installer. The runtime requirement is specific: OpenClaw needs Node.js 22.19+, 23.11+, or 24+, and the docs recommend Node 24. Check your version with node -v before anything else. If the version is wrong, fix that first and save yourself the most common troubleshooting session.
| Requirement | Minimum | Recommended for business use |
|---|---|---|
| Host machine | Any Mac, Linux, or Windows machine that can stay awake | A dedicated always-on host such as a Mac mini, wired Ethernet, UPS |
| Operating system | macOS, Linux, Windows, or WSL2 | macOS or Linux on hardware you control |
| Runtime | Node.js 22.19+, 23.11+, or 24+ | Node 24, installed fresh or via the official installer |
| Model provider | One API key from Anthropic, OpenAI, or Google | A dedicated key with billing limits and usage alerts |
| Messaging channel | One channel decided before onboarding | Telegram first for speed, then your daily channel |
| Security plan | Know who approves actions | Token auth, private Gateway, secrets storage, approval gates |
Before you run the installer, confirm all six of these:
- Hardware. An always-on Mac, Linux box, Windows machine, WSL2 setup, or a dedicated host. Sleep is the enemy of a reliable agent.
- Runtime. A supported Node.js version, verified with
node -v, not assumed. - Accounts. A model provider account with an API key, a billing method, and usage limits already set.
- Channel. Your first messaging channel chosen in advance so the first test message is not blocked by a missing bot token.
- Security decisions. Who can approve actions, where secrets live, and whether the Gateway stays private. It should.
- Time. A quiet hour. The quickstart takes minutes, but verification and hardening deserve unhurried attention.
That is the full list of OpenClaw requirements for a serious setup. Nothing exotic, but every item matters at a specific moment during onboarding.
Choose where OpenClaw should live: Mac mini, workstation, VPS, or lightweight host#
Your host decision shapes everything downstream: uptime, channel compatibility, privacy, and how often you have to touch the machine. The question is not which computer can run OpenClaw. Almost any modern machine can. The question is which machine can run it all day, every day, without you babysitting it.
| Host | Uptime | Channel fit | Maintenance | Best for |
|---|---|---|---|---|
| Dedicated Mac mini | Excellent, built for always-on | Full, including iMessage on macOS | Low after setup | Business use and daily reliance |
| Daily laptop | Poor, sleep and travel interrupt | Full while awake | Constant wake and network babysitting | Testing before committing |
| VPS | Excellent | Good, minus local-only integrations like iMessage | Low, managed remotely | Remote-first setups without Apple channel needs |
| Small hobby hardware | Fair | Limited by platform | Tinkering required | Lightweight experiments, not critical work |
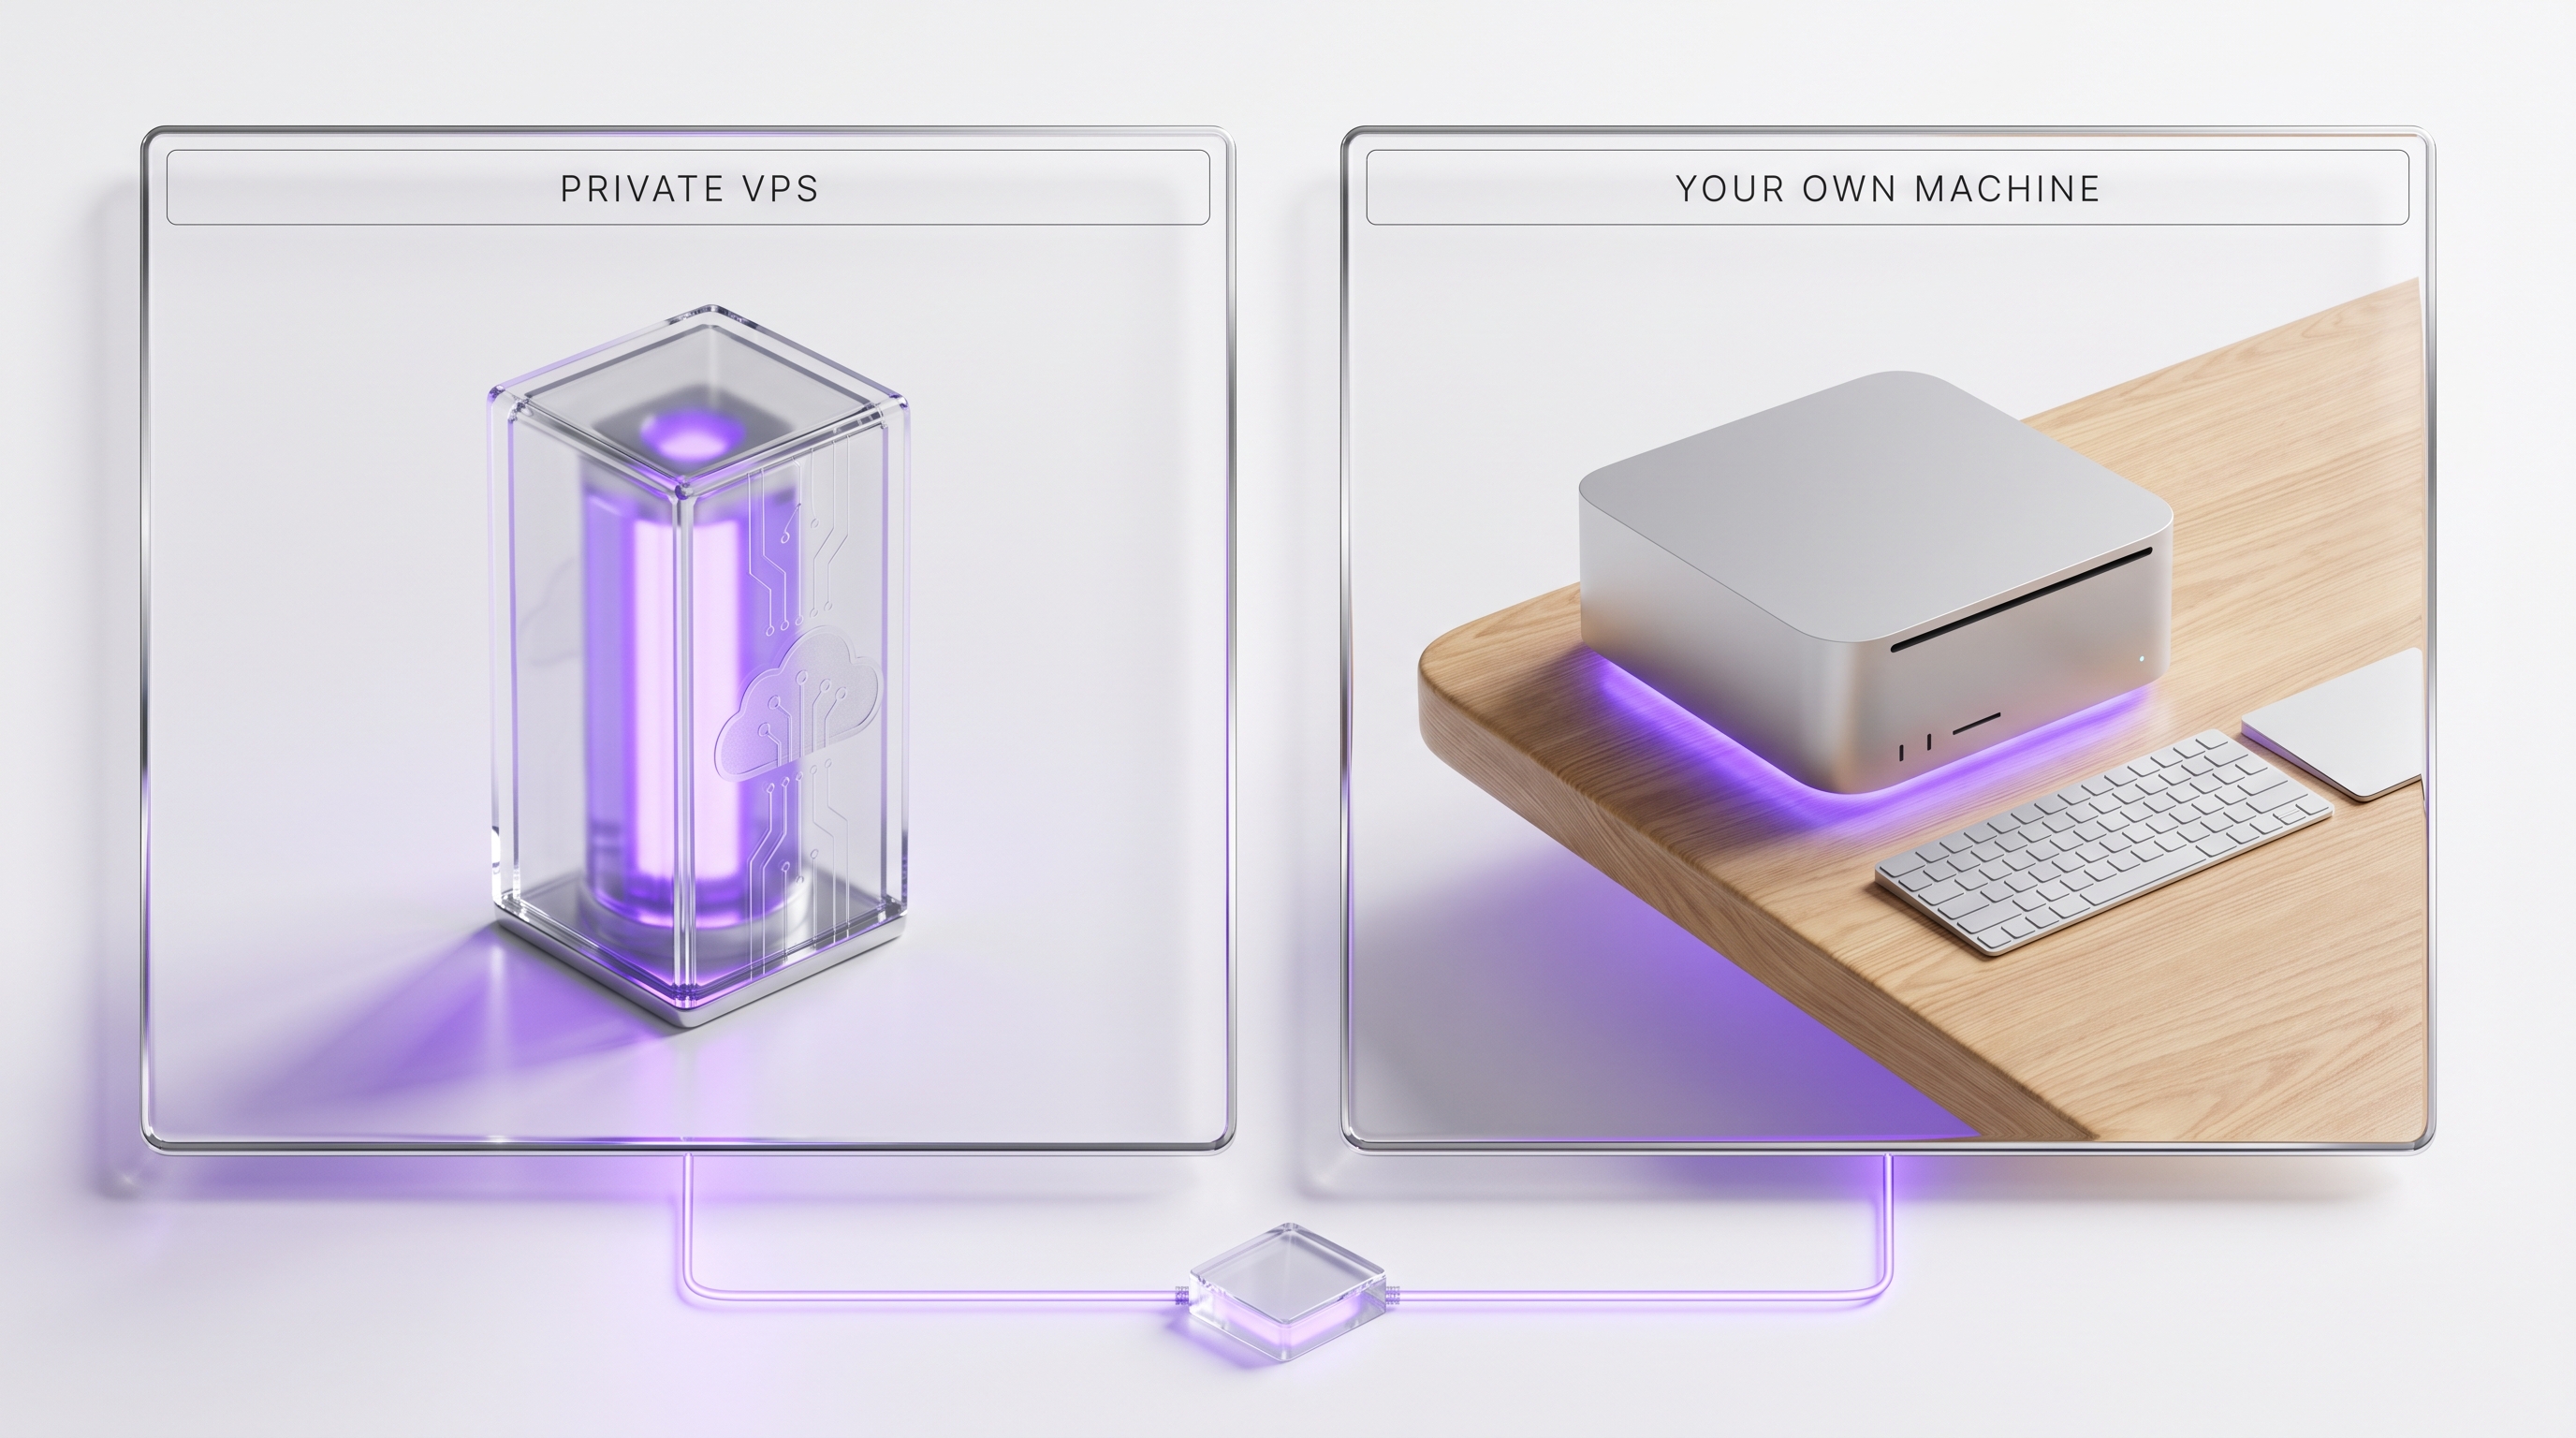
Use a daily laptop only to evaluate. Sleep, restarts, and travel will interrupt channel connections at the worst times. Choose a private VPS when you prefer remote management and do not need local-only integrations like iMessage; choose local hardware when you want everything on a machine you own. Small single-board devices are fine for experiments. For anything you will rely on, dedicate the host.
Prepare API keys, accounts, and channels before the install#
Onboarding asks for a model provider API key from a provider such as Anthropic, OpenAI, or Google. If you create that key while the installer waits, you will rush it. Prepare credentials first, deliberately, and the install becomes a formality.
- 1Generate a new API key just for OpenClaw instead of reusing a broad personal key. Scoped keys are easier to rotate and audit.
- 2Set spend caps and alerts before the key is ever used, so a runaway workflow costs you an email notification, not an invoice shock.
- 3Create your channel credentials in advance. A Telegram bot token takes two minutes with BotFather and unblocks the fastest first test.
Three habits make this layer clean:
- One key per job. A dedicated API key for OpenClaw means you can rotate or revoke it without breaking anything else you own.
- Billing before pasting. Add usage limits and alerts before the key touches onboarding, not after the first surprising bill.
- Channel picked on purpose. Choose based on speed, privacy, team visibility, and reliability. Telegram is usually the fastest first channel because it uses a simple bot token and no plugin install.
How to install OpenClaw on macOS, Linux, WSL2, or Windows#
With preparation done, the install itself is short. If you have been searching for how to set up OpenClaw, this is the core sequence. The official installer detects your OS, installs Node if needed, installs the CLI, and hands you to onboarding.
- 1Confirm your runtime1 min
Check that Node.js reports 22.19+, 23.11+, or 24+. Node 24 is the recommended version. Fix this now if it is wrong.
terminalnode -v - 2Run the installer on macOS, Linux, or WSL22 min
The official hosted installer handles OS detection, runtime, and the CLI in one pass.
macOS / Linux / WSL2curl -fsSL https://openclaw.ai/install.sh | bash - 3Or run the Windows PowerShell installer2 min
On native Windows, use the official PowerShell command instead.
Windows PowerShelliwr -useb https://openclaw.ai/install.ps1 | iex - 4Prefer a package manager? Use npm2 min
Teams that standardize on package managers can install OpenClaw globally with npm. The docs also list pnpm, bun, and source installs.
npm alternativenpm install -g openclaw@latest - 5Do not stop here
A finished install command does not mean a working agent. Your workspace, Gateway, API key, channel, and daemon are configured in onboarding, which comes next.
Whichever path you choose, the endpoint is the same: the openclaw CLI available in your shell and ready for onboarding. If the command is not found after the installer finishes, open a new terminal so your shell picks up the updated path.
Run onboarding for your baseline OpenClaw setup#
Onboarding is where the install becomes a working system. The official quickstart command is:
openclaw onboard --install-daemonThis guided flow walks you through model provider selection, API key entry, Gateway configuration, workspace creation, and daemon installation so OpenClaw survives restarts. The GitHub README describes onboarding as setting up the Gateway, workspace, channels, and skills, and it works on macOS, Linux, and Windows. Because you prepared your key and channel token already, every prompt has a ready answer.
OpenClaw has three related commands, and knowing which one to reach for saves confusion later:
| Command | What it is for | When to use it |
|---|---|---|
openclaw onboard | The guided first-run journey | Right after the install, once |
openclaw setup | Guided first run or baseline workspace creation, depending on flags | Alternative first-run path or baseline config |
openclaw configure | Targeted changes to credentials, channels, Gateway settings, plugins, skills, and health checks | Any time after onboarding, for specific adjustments |
The pattern to remember: onboard once, configure forever. When you want to change a credential or add a channel next month, that is openclaw configure, not a rerun of onboarding.
Connect your first messaging channel#
A channel is how you actually talk to your agent. iMessage, Telegram, and WebChat ship with OpenClaw out of the box, and channel plugins add Discord, Slack, Google Chat, WhatsApp, Signal, Microsoft Teams, Matrix, and Feishu. Channels can run simultaneously, and OpenClaw routes per chat, so your first choice is not a commitment. It is a starting point.
| Channel | Setup speed | Best fit | Watch for |
|---|---|---|---|
| Telegram | Fastest, simple bot token, no plugin | First tests and personal daily use | Create the bot token before onboarding |
| iMessage | Fast on a Mac host | Apple-centric personal workflows | Requires a macOS host with Messages access |
| WebChat | Included in core | Quick local testing | Not your long-term daily driver |
| Slack / Google Chat / Teams | Moderate, plugin plus workspace app | Team visibility and shared workflows | Workspace admin approval |
| Discord | Moderate, plugin plus bot setup | Communities and side projects | Server permission scopes |
| WhatsApp / Signal | Slower, plugin and pairing | Reaching people where they already are | Review plugin requirements and privacy expectations first |
Adding an account is a single CLI command. Telegram, for example:
openclaw channels add --channel telegram --token YOUR_BOT_TOKENThen prove the channel before relying on it. Send a first message and confirm a reply. Run a channel probe to confirm status. Restart the host and send another message. A channel that survives a reboot is a channel you can build on.
Install skills and plugins with a vetting workflow#
Skills are where OpenClaw gets its range, and where careless setups get hurt. Do not install a skill just because it looks useful. ClawHub publishes security audits, and the audit docs are direct about their limits: audits are not a guarantee that a release is risk-free. Treat every skill like a new hire with system access, because that is what it is.
The review itself takes minutes when you know what to look at:
- Trust signals. Audit status, risk level, findings, owner, source, version, changelog, downloads, and stars. The ClawHub audit docs list exactly these as the pre-install review set.
- Permissions and credentials. What does it want to read, and what can it touch? A skill that requests more than its job needs is a skip.
- Sandbox first. Test in a low-risk workspace before connecting production tools or real accounts.
- Approval before action. A new skill should not send external messages, write files, update records, or take irreversible actions without a human yes.
- Keep a register. A simple list of installed skills, owners, permissions, and review dates turns future audits from archaeology into a checklist.
Security hardening basics and approval gates#
This is the section most guides bolt on at the end. It belongs inside your OpenClaw setup from the first hour, because retrofitting security onto a live agent is harder than starting with it. The official security docs give you the baseline, and it is not complicated.
The specifics, straight from the security documentation:
- Use shared bearer token or password auth. The docs identify shared bearer token auth as the recommended mode for most setups. Loose access is not a convenience, it is an incident waiting for a timestamp.
- Treat Gateway credentials as operator secrets. Gateway HTTP bearer credentials are effectively full-access operator secrets for that Gateway. Store them like passwords to your most important account, because functionally they are.
- Keep the Gateway private. The docs advise keeping
trustedProxiestight and avoiding direct public exposure of the Gateway. If you cannot explain why your Gateway needs to be reachable from the internet, it does not. - Define origins deliberately. The docs warn against wildcard
allowedOriginsoutside tightly controlled local testing.
Then add the human layer. Create approval gates for external sends, payment actions, record updates, admin changes, data deletion, file writes, and first runs of any new skill. Log the approvals. Every sensitive action should have an owner, a reason, a timestamp, and a rollback plan. This sounds heavy. In practice it is one confirmation tap in your chat channel, and it is the difference between an agent you supervise and an agent you hope behaves.
Post-install verification checklist#
The most common mistake is stopping when the CLI works. A CLI that runs is not a system you can trust. Run this sequence before you hand the agent anything real.
- 1Check the Gateway1 min
Run the status check and confirm the Gateway is listening on port 18789, which is what the quickstart expects.
terminalopenclaw gateway status - 2Open the dashboard1 min
Confirm the workspace loads and the config looks the way you set it.
terminalopenclaw dashboard - 3Send a first message2 min
Message the agent from your chosen channel and confirm a coherent reply comes back end to end.
- 4Restart and retest5 min
Restart the host or daemon, then confirm OpenClaw comes back on its own and the channel still answers. This is the test that separates a demo from infrastructure.
- 5Review the paper trail5 min
Check logs, channel status, API key usage, skill permissions, and your security settings one more time.
- 6Rehearse an approval2 min
Trigger a gated action in a test scenario and confirm the approval request reaches you before anything happens. Only then move to real automations.
If every step passes, you have a working, restart-proof, gated agent. If a step fails, the next section covers the usual suspects.
Common OpenClaw setup mistakes and how to avoid them#
Nearly every failed first hour lands in one of seven buckets. Diagnose by symptom and you will fix most of them in minutes.
| Symptom | Likely cause | Fix |
|---|---|---|
| command not found: openclaw | Shell path not refreshed, or the global install path is not on PATH | Open a new terminal, or check your package manager global bin path |
| Setup breaks with runtime errors | Unsupported Node version | Install Node 24, or at minimum 22.19+ or 23.11+, then reinstall |
| Gateway not listening on 18789 | Port conflict with another service | Find what holds the port, stop or move it, restart the Gateway |
| Onboarding looks broken at the key step | Bad API key or missing billing on the provider account | Regenerate the key, confirm billing is active, paste it fresh |
| Telegram never answers | Token typo or expired bot token | Re-copy the token from BotFather and re-add the channel |
| Everything worked, then got flaky | Too many skills installed before verification | Remove extras, verify the core loop, re-add skills one at a time |
| Security warnings in review | Gateway exposed publicly before hardening | Take it private, set token auth, tighten proxies and origins now |
One habit prevents most of this: change one variable at a time. Install, verify. Add a channel, verify. Add a skill, verify. When something breaks, you will know exactly what broke it.
Realistic OpenClaw install time: DIY vs ClearSetup#
Honest numbers, because the 5 minute figure gets quoted without context. The official quickstart really can run in about 5 minutes when Node, your API key, permissions, and a simple channel are ready. That gets you a working demo. It does not get you a hardened system you would connect to your business.
| Path | What it includes | Realistic time |
|---|---|---|
| DIY quickstart | Install, onboarding, one channel, first message | About 5 minutes when everything is prepared |
| DIY practical install | Host choice, keys and billing, onboarding, one channel, basic verification | 60 to 120 minutes for a technical user |
| DIY business-grade setup | Mac mini prep, multiple channels, skill vetting, hardening, approval gates, restart tests, documentation | Half a day or more |
| ClearSetup done-for-you | Everything above, installed, configured, hardened, tested, and handed off with a checklist | Your time: one conversation |
If you have the hour and enjoy the work, the DIY path above is complete. Nothing is held back. The decision is not about ability. It is about whether your time is better spent building the workflows that use the agent or operating the installer. If you want the outcome without the afternoon, ClearSetup will install OpenClaw on a private VPS or locally on a machine you own, configure your channels and skills, harden the Gateway, set up your approval gate policy, and hand you a verified, documented system.
What to automate after the setup works#
A verified install is the starting line. The best first workflows are low-risk and high-frequency: morning summaries, reminders, drafts, inbox triage, research digests, and status updates. Keep the approval gates on anything that sends externally, touches customer records, or moves money. For the full picture of what a working agent can do for an owner, read The Ultimate OpenClaw Guide for Business Owners. When you are ready to pick your first workflow, use What to Automate First With OpenClaw, and then borrow from 25 OpenClaw Automations That Save Time Every Week for tested, copy-ready workflows. If you want to understand every layer you just installed, our guide on how to build an AI agent walks through the full stack from model to approval gates.
node -vcurl -fsSL https://openclaw.ai/install.sh | bashiwr -useb https://openclaw.ai/install.ps1 | iexnpm install -g openclaw@latestopenclaw onboard --install-daemonopenclaw channels add --channel telegram --token YOUR_BOT_TOKENopenclaw gateway statusopenclaw dashboardFrequently asked questions#
What do I need before I install OpenClaw?
The core OpenClaw requirements are a supported OS, Node.js 22.19+, 23.11+, or 24+, a model provider API key, a messaging channel, and a host that can stay online. For business use, also prepare billing limits, credential storage, security settings, and approval gates.
What is the fastest way to install OpenClaw?
If you are wondering how to set up OpenClaw quickly, the fastest official path is the hosted installer. Use curl -fsSL https://openclaw.ai/install.sh | bash on macOS, Linux, or WSL2. Use iwr -useb https://openclaw.ai/install.ps1 | iex on Windows PowerShell.
Can I install OpenClaw with npm?
Yes. The official install docs list npm install -g openclaw@latest, followed by onboarding. The docs also list pnpm, bun, and source install options for teams that prefer those paths.
What does OpenClaw onboarding do?
Onboarding guides the first-run setup. It helps configure the model provider, API key, Gateway, workspace, and daemon. The official quickstart command is openclaw onboard --install-daemon.
How do I verify that OpenClaw installed correctly?
Run openclaw gateway status and confirm the Gateway is listening on port 18789. Then open the dashboard with openclaw dashboard, send a test message through your first channel, restart the host, and review logs.
Can OpenClaw run on Windows?
Yes. OpenClaw supports Windows install paths, including a PowerShell CLI installer and WSL2 Gateway options. For business use, verify startup behavior, permissions, firewall rules, and channel support after setup.
What is the easiest OpenClaw channel to start with?
Telegram is usually the easiest first channel because it uses a simple bot token and does not require a plugin install. It is a good first test before adding iMessage, Slack, Discord, WhatsApp, or other channels.
Is a Mac mini good for OpenClaw?
Yes. A Mac mini is a strong OpenClaw host because it is compact, quiet, Ethernet-capable, and suitable for always-on use. The practical sweet spot is an M4 Mac mini with 16GB or more memory, reliable storage, Ethernet, and a UPS.
How should I secure OpenClaw after install?
Use shared bearer token or password auth, treat Gateway credentials as full-access secrets, avoid direct public Gateway exposure, keep trustedProxies tight, set allowed origins carefully, review skills before install, and require human approval for sensitive actions.
What is the difference between openclaw setup, openclaw onboard, and openclaw configure?
openclaw onboard and openclaw setup are for the guided first-run journey or baseline setup. openclaw configure is for targeted changes after install, including credentials, devices, Gateway settings, channels, plugins, skills, and health checks.
How long does an OpenClaw setup take?
A prepared technical user can complete a simple OpenClaw setup quickly, but a hardened business setup often takes 60 minutes to half a day. ClearSetup is the shortcut if you want the install, channels, skills, hardening, and approval gates handled for you.
You now have the complete playbook: the OpenClaw requirements, the host decision, the credential prep, the install commands, onboarding, channel setup, skill vetting, hardening, and the verification sequence. Follow it and your OpenClaw install will be something you can trust with real work.
Or skip the checklist. ClearSetup will install, configure, and harden OpenClaw for you, with host setup, API keys, channels, skills, Gateway security, verification, and approval gates handled from day one. Start with what to automate first and put the hours you saved into the workflows themselves.
Want your own OpenClaw AI agent, set up right?
We install, secure, and maintain your personal AI agent on private infrastructure, tuned to exactly how you work. You get the power without managing the setup.
Book Your Free Setup Call→The Owner's Guide to Adopting AI the Right Way
A short, practical guide for entrepreneurs: how to take charge of your AI, what your first AI agent should do, and the mistakes that cost months of rework. Get it free.